

Whether you live in a detached home or a high-rise apartment complex, soundproofing can be a huge problem.
You may be faced with external noise such as outside traffic, the hustle-bustle on the streets or loud neighbors, and in-home noise like that of noisy kids, your HVAC system, the TV and more.
Learning how to soundproof a room cheaply can be a great way to get some peace and quiet, concentrate on getting your work done, conduct professional virtual meetings, or build your own home podcasting recording studio.
There are also many ways to effectively soundproof a room, without requiring to drill any holes, or add permanent fixtures.
In this post, you’ll find some of the best ways to soundproof a room cheaply, yet effectively, to experience a definite reduction in sound and noise.
Understanding How Soundproofing Works
Before starting to soundproof a room, it is important to understand three critical points.
- The source of the sound
- How the sound is entering your room
- Where the sound is reflecting
Identify the source
Are you trying to conceal a specific sound like that of a loud HVAC system, television, or traffic? The first step is to identify the source of the sound.
Locate the entry
The next step is to locate where the sound is entering the room. Most likely, this is the point adjacent to the source, or it could be an exterior window or door, or a shared wall with another apartment or duplex.
Mark reflection points
Once the sound enters the room, it reflects back in the same angle it entered. This means that you not only need to soundproof the wall adjacent to the sound, but also the wall where the sound is reflecting.
Before we go over some of the more advanced ways to soundproof a room, we’ll cover certain soundproofing basics you can start to implement right away:
How to Soundproof a Room Cheaply
One of the most effective (and easiest) ways to add some basic soundproofing to a room is to add furniture, rugs, and décor to your space. What this does is prevents the sound from bouncing off hard surfaces such as empty walls or hard tiles, and allows the sound to be absorbed by these elements.
Below are three of the most cost-effective ways to soundproof a room:
Get a couch
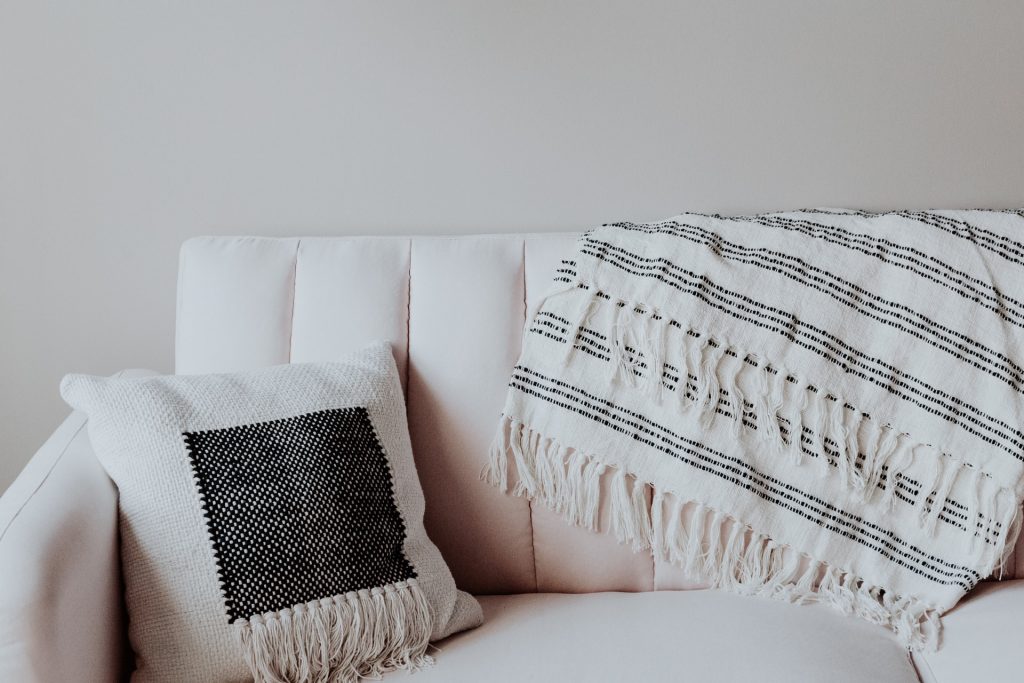
No, we’re not kidding. Adding any type of upholstered furniture to your room will give the sound more areas in the space to be absorbed into. The key is to dampen the noise and keep the sound from bouncing back and forth around the room. If you don’t have room to add upholstered furniture you can add thick blankets, plush pillows or bean bags to combat the sound.
Use window treatments

Curtains and window treatments are not only great for privacy but also work well for dampening outside noise such as that of traffic. The thicker the drapes the better. There are also special window treatments and glass thicknesses available that are better at blocking noise than others. You’ll also want to make sure that any air gaps in your windows are sealed with foam or sealant.
Add carpeting or rugs

Adding carpets or a couple of thick rugs to your room can help to absorb sound. This is especially important if you have hard flooring or tiles.
If you don’t have a rug, a quick and cheap way to soundproof your room is by laying and hanging blankets and quilts you may have lying around the house, in the room.
Powerful Ways to Soundproof a Room
Although adding furniture and drapes is a good start, you might need more powerful sound-proofing if you live in a busy city neighborhood, or really need to cut out the sound to work remotely or setup your own home recording studio.
The soundproofing solutions below may not be as cost-effective as the ones above, but are a lot more effective at soundproofing a room, irrespective of where the sound is coming from.
Invest in acoustic panels
Hanging acoustic panels is one of the best ways to soundproof a room. Acoustic panels come in various sizes and are specially designed to absorb unwanted sounds and noise.
Lightweight and available in a variety of colors you can pick the panels that match your décor. They are also super easy to install!
In the short video below, you can see a quick comparison between a room with no treatment compared to one with acoustic treatment.
Not sure where to hang acoustic panels?
When installing acoustic panels, you need to keep in mind that they have to be properly positioned to best block the sound from reflecting.
Sound reflection is the same as light reflection, in the sense that sound bounces or reflects from a surface at the same angle at which it strikes the surface.
So, as a general rule of thumb, you’ll want to hang acoustic panels on the opposite wall of the incoming sound source.
Now, when it comes to choosing which acoustic panels to buy there are quite a few options in the market. We recommend going in for known brands, where you can be sure of reliability, longevity and performance.
Primacoustic Acoustic Panels
We highly recommend Primacoustic Acoustic Panels as they are available in different sizes and colors (beige, grey and black), and are ideal for home theaters and studios.
These panels are available as ready-to-use kits, which are an affordable way to start with acoustic treatment.
Primacoustic LONDON 8 Acoustic Room Kit (Grey, Beige and Black) — $229.99
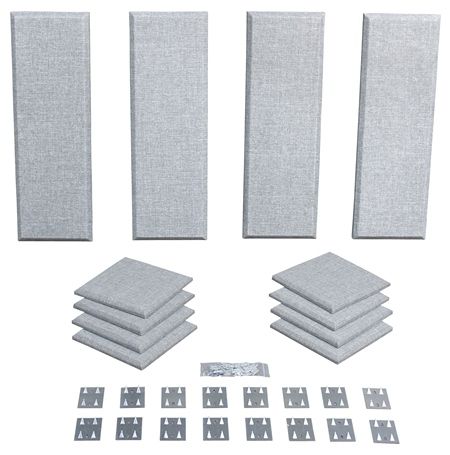
The Broadway London 8 room kit is designed for rooms up to 100 ft2 (9m2), and can also be combined with other products to treat larger spaces.
Key Features:
- Scatter Blocks Qty: 8 – Size 12″ x 12″ x 1″
- Control Columns Qty: 4 – Size 12″ x 36″ x 1.5″
- Edges: Beveled
- Hardware: 16 Surface Impalers included for mounting. Drywall anchors and screws included.
Primacoustic LONDON 8 Acoustic Room Kit (Grey) — $229.99
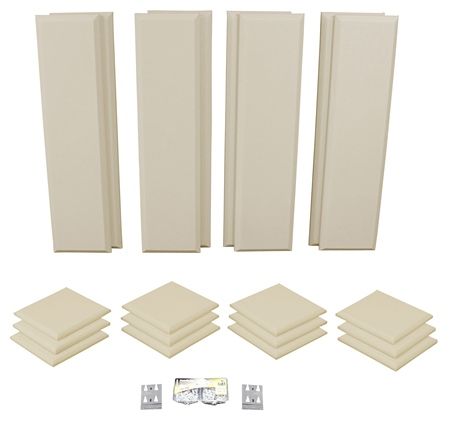
Primacoustic LONDON 8 Acoustic Room Kit (Beige) — $229.99
Primacoustic LONDON 8 Acoustic Room Kit (Black) — $229.99
Depending on the size of your space, you can also opt in to go for their larger soundproofing kits which are available in either grey, beige or black.
Some of these include:
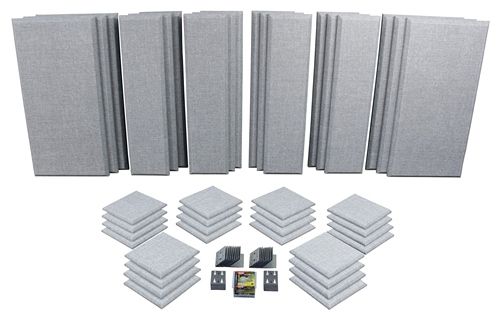
Primacoustic LONDON 10 Acoustic Room Kit — $499.99
The Broadway London 10 room kit is designed for rooms up to 120 ft2 (12m2), and is excellent for building a recording studio, home theater, or Boardroom.
Key Features:
- Scatter Blocks Qty: 12 – Size 12″ x 12″ x 1″
- Control Columns Qty: 8 – Size 12″ x 48″ x 2″
- Edges: Beveled
- Hardware: 28 Surface Impalers included for mounting. Drywall anchors and screws included.
- Available in grey, beige and black
Primacoustic LONDON 12 Acoustic Room Kit — $769.99

The Broadway London 12 room kit is designed for rooms up to 150 ft2 (15m2), and is great for studio control rooms and home theaters — an ideal single box acoustic treatment solution!
Key Features:
- Scatter Blocks Qty: 12 – Size 12″ x 12″ x 1″
- Control Columns Qty: 8 – Size 12″ x 48″ x 2″
- Broadband Panels Qty: 2 – Size 24″ x 48″ x 2″
- Edges: Beveled
- Hardware: 26 Surface Impalers and 8 Corner Impalers included for mounting. Drywall anchors and screws included.
- Available in grey, beige and black
Primacoustic LONDON 16 Acoustic Room Kit — $1499.99
If you’re really serious about virtual streaming, home podcasting, or building a solid home recording studio, the Broadway London 16 room kit has everything you need for a complete acoustic treatment package. Designed for rooms up to 200 ft2 (20 m2), it is ideal for studio control rooms, tracking rooms, or large home theaters.
Key Features:
- Scatter Blocks Qty: 24 – Size 12″ x 12″ x 1″
- Control Columns Qty: 12 – Size 12″ x 48″ x 2″
- Broadband Panels Qty: 6 – Size 24″ x 48″ x 2″
- Edges: Beveled
- Hardware: 48 Surface Impalers and 16 Corner Impalers included for mounting. Drywall anchors and screws included.
- Available in grey, beige and black
Use soundproofing foam
If you’re on a tight budget, and are looking for how to soundproof a room cheaply, yet need more than a home DIY solution, you can opt for soundproofing foam.
Studio foam is a relatively cost-effective acoustical treatment solution that includes:
- acoustical absorbers
- diffusors
- sound barriers
- isolation platforms
- complete room treatment systems
All of these components come together seamlessly to achieve top-notch acoustic treatment to soundproof any room or space.
We highly recommend Auralex Acoustics — the industry leader in acoustical treatment products.
With Auralex there is no need to drill any holes or use any screws, you can simply use their adhesive spray and EZ-stick pro tabs to mount their acoustic foam products (to the walls or ceiling), and soundproof your room quickly.
Auralex Acoustics Foamtak Adhesive Spray — $26.29
Auralex Acoustics EZ-Stick Pro Tabs — $32.99
Now when it comes to choosing soundproofing foam, you have different size and feature options depending on what you are looking to achieve.
Auralex Acoustics Studiofoam SonoTech Panels (Pair) — $35.99
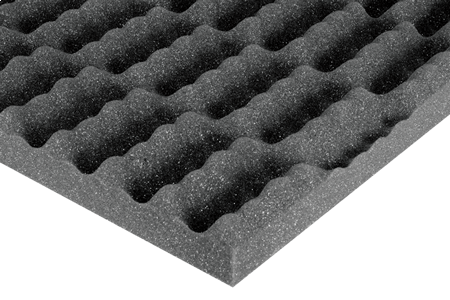
Studiofoam SonoTech Panels offer affordable, superior absorption performance that Auralex is famous for, with a softer aesthetic and a Class A Fire rating.
Key Features:
- NRC = 0.60
- Class-A Fire Rated*
- Available in 2′ x 2′ Panels
- Eliminates Standing Waves and Flutter Echo
- Reduces Unwanted Reflections
- Decreases Slap-Back and Room Ring
Auralex Acoustics Studiofoam Wedges Panels (Pair) — $66.29
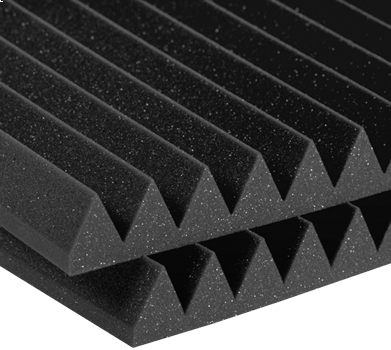
The Auralex 2″ Studiofoam Wedges are their most popular Studiofoam profile! Excellent for treating small-to-medium-sized areas including home studios, control rooms, vocal booths, and more.
Key Features:
- Anechoic wedge cut offers superior sound absorption
- Effectively reduce standing waves and flutter echoes
- Won’t crumble with age
- Absorbs up to 60% better than other brands
Auralex Acoustics MudGuard v2 w/ Hardware Mounting Kit — $175.00
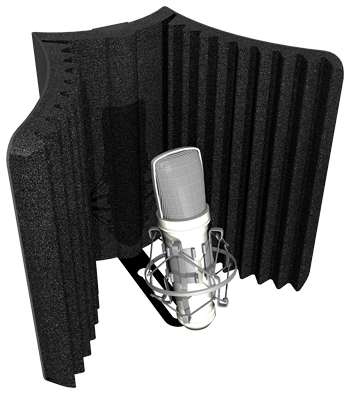
Want crystal clear, noise-free recordings? The Auralex Acoustics MudGuard v2 uses a cutting-edge proprietary convex design, diverting reflections, and offering unsurpassed performance, compared to similar shields in the market.
Key Features:
- Convex Technology Redirects Internal Sound Energy Away from the Microphone
- Solid Shell Reduces External Noise While Filtering Unwanted Overtones
- Minimizes Excessive Room Ambiance and Off-Axis Sound
- Uses Auralex® Studiofoam® for Maximum Absorption Performance
- Mounts Easily to Most Microphone Stands
- MudGuard v2 Dimensions: 16” Wide x 10” Deep x 14” Tall
Shop all Auralex Acoustics acoustical treatment products here!
Ready to soundproof a room in your home?
We’ll be happy to help! Reach out to us for any product related questions or visit our website for everything Pro AV, including studio solutions to setup your entire home studio.